English
 русский
 Español
 عربى
عربى
JingShi
JingShi
JingShi
JingShi
JingShi
JingShi
JingShi
JingShi
JingShi
Content
- 1 Power-assisted manipulator: the direct answer
- 2 Where a power-assisted manipulator fits best
- 3 Types of power-assisted manipulators and how to choose
- 4 Sizing and performance: inputs that prevent costly mistakes
- 5 End effector design: the difference between “lifting” and “handling well”
- 6 Safety and compliance: what to specify up front
- 7 Integration and layout: make it usable, not just functional
- 8 Cost and ROI: a practical way to justify the investment
- 9 Common pitfalls and how to avoid them
Power-assisted manipulator: the direct answer
A power-assisted manipulator is the most practical solution when you need one operator to position heavy or awkward parts accurately while keeping the “feel” of manual handling. In typical production environments, it is the right choice when loads are too heavy, too repetitive, or too precision-sensitive for safe manual lifting, but you do not want the cost, programming overhead, or rigidity of a fully automated robot.
The fastest way to get good results is to size for the real task: confirm payload (including tooling), center-of-gravity offsets, lift height, cycle rate, and required orientation control. When those inputs are correct, a power-assisted manipulator can deliver repeatable placement with reduced operator strain, especially for assemblies with poor handholds, sharp edges, or high damage risk.
Where a power-assisted manipulator fits best
Power-assisted manipulators bridge the gap between cranes/hoists and industrial robots. They are designed for “human-in-the-loop” motion: the operator guides the part, while the device provides lift and stabilization.
Best-fit applications
- Repetitive handling of mid-to-heavy parts where fatigue or back/shoulder risk is a concern
- Precision placement into fixtures, press beds, dunnage, or racks
- Awkward geometries: large panels, castings, drums, batteries, glass, or sharp-edged parts
- Mixed-model lines where quick changeovers beat reprogramming a robot
- Damage-sensitive surfaces where controlled contact and “soft landing” reduce scrap
When it is not the best choice
- Very high-speed, fully repetitive pick-and-place with stable part presentation (robotics may win)
- Extremely heavy loads beyond practical human-guided control (overhead cranes or specialized systems)
- Tight, fully guarded cells where human presence must be minimized
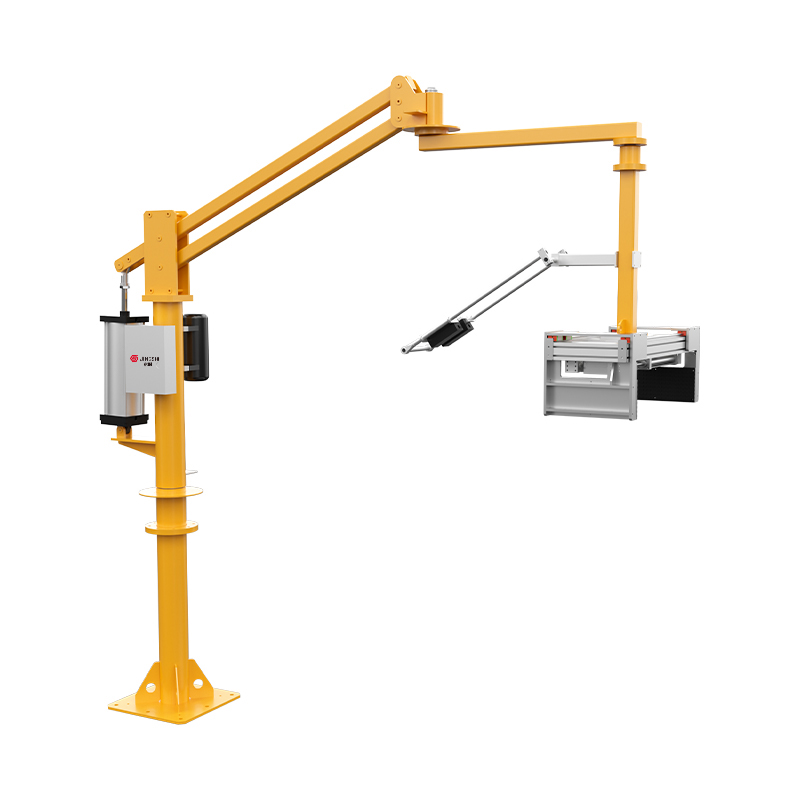
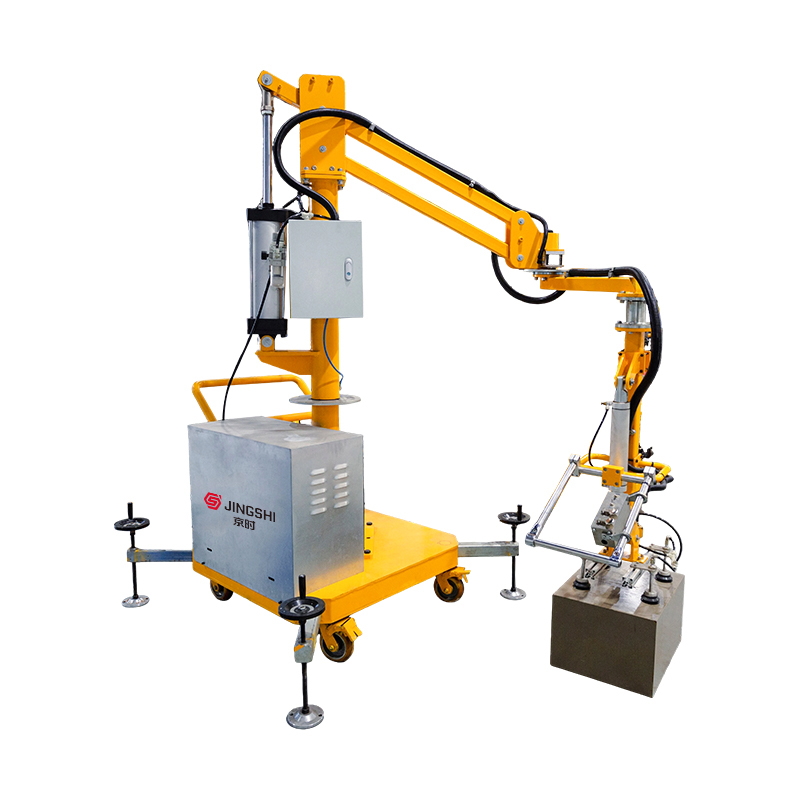
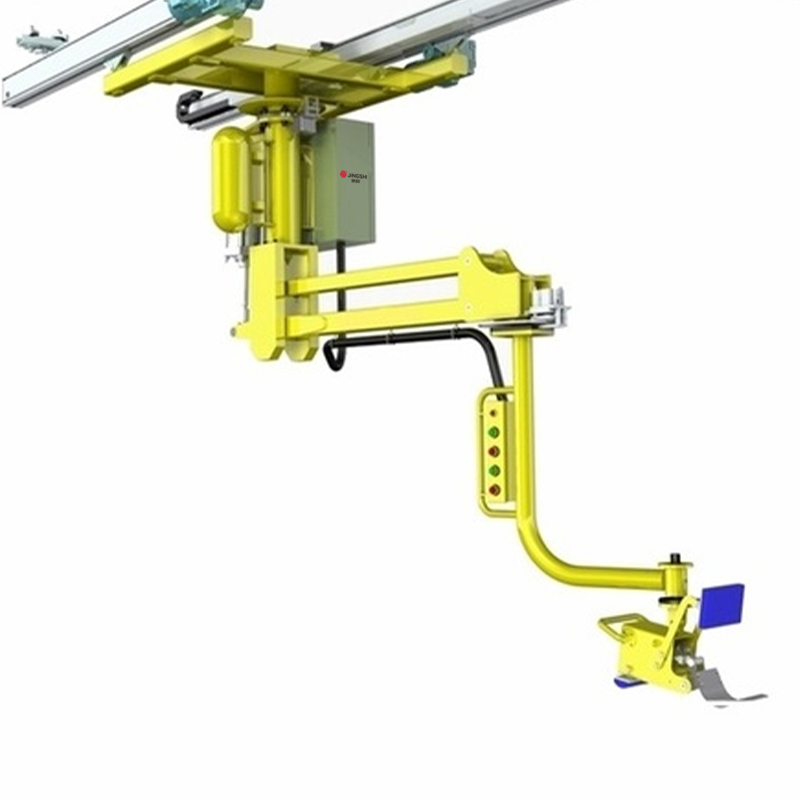
Types of power-assisted manipulators and how to choose
The “best” manipulator is the one that matches your payload, motion envelope, and control feel. Most systems fall into pneumatic, electric servo, or hybrid categories, paired with a mechanical arm (articulated, rigid-link, or rail-mounted).
| Option | Common payload fit | Strengths | Trade-offs |
|---|---|---|---|
| Pneumatic balance arm | ~15–150 kg class | Simple, fast response, low maintenance, good “float” feel | Less precise force/position control; depends on air quality and regulation |
| Electric servo manipulator | ~5–300 kg class | High control fidelity, programmable limits, soft landing, data/IO integration | Higher cost; more complex commissioning; needs power/cabling management |
| Vacuum tube lifter (with assist) | ~10–80 kg class (surface-dependent) | Very fast vertical lift; great for boxes, bags, sheets | Limited orientation control; requires suitable surfaces and vacuum safety |
| Rigid-link articulated arm + custom end effector | Broad: depends on drive system | Excellent positioning and rotation; best for awkward parts and fixtures | Tooling design is critical; footprint and reach constraints |
| Rail/gantry-mounted manipulator | Broad: best for long travel | Covers multiple stations; reduces floor obstruction | Installation and alignment; may require facility steel and safety zoning |
A practical selection shortcut
If your operator must “thread the needle” into a fixture or align fasteners, prioritize servo control, rotation control, and soft landing. If your main problem is vertical lifting and speed with simple placement, a pneumatic balance arm or vacuum-assist solution is usually the most economical.
Sizing and performance: inputs that prevent costly mistakes
Most power-assisted manipulator disappointments come from underestimating real payload and center-of-gravity (CoG) offsets. Treat sizing like an engineering calculation, not a catalog lookup.
What to measure before you request quotes
- Total lifted mass = part + gripper/end effector + adapters + hoses/cables carried by the arm
- CoG distance from the wrist/flange and from the vertical lift axis (offset creates torque and “droop”)
- Motion envelope: required reach, lift height, and any obstacles that constrain arm geometry
- Cycle profile: picks per hour, dwell time, and whether the operator needs micro-adjustment
- Orientation needs: do you need pitch/roll/yaw rotation and does it need to be powered or braked?
Worked example: why CoG matters
Suppose the part is 60 kg and the end effector is 15 kg. The true lifted load is 75 kg. If the combined CoG sits 250 mm forward of the wrist, the manipulator must resist a torque of roughly 184 N·m (75 kg × 9.81 m/s² × 0.25 m). That torque drives arm deflection, operator effort, and brake/rotation sizing. This is why “payload-only” sizing commonly underperforms.
End effector design: the difference between “lifting” and “handling well”
A power-assisted manipulator is only as capable as its end effector. The gripper must stabilize the part, protect surfaces, and allow repeatable release without “stick-slip” or sudden drops.
Common end effector choices
- Vacuum cups/frames for sheets, glass, cartons, or sealed surfaces (design in redundancy and check valves)
- Mechanical clamp grippers for castings, weldments, drums, or parts with lips/edges
- Magnetic grippers for ferrous parts (verify residual magnetism and release behavior)
- Custom nests/fixtures for fragile or irregular geometry (best for repeatable orientation control)
Practical rules that reduce scrap and rework
- Design for fail-safe holding: if air/power is lost, the part should not free-fall
- Add mechanical compliance (soft pads, floating joints) when the part seats into a fixture
- Control the release: use soft landing or staged venting on vacuum to prevent sudden shifts
- Keep hoses and cables strain-relieved to avoid “spring forces” that fight the operator
Safety and compliance: what to specify up front
Safety performance is not an add-on. Your specification should define how the power-assisted manipulator behaves during normal operation and foreseeable faults (loss of air, loss of power, sensor failure, operator release).
Minimum features worth requiring
- Redundant load-holding (e.g., check valves, mechanical brakes, or secondary retention)
- Speed and force limiting appropriate to operator-guided handling
- Clearly located emergency stop and a controlled stop behavior (no uncontrolled drift)
- Pinch-point mitigation via guarding, geometry, and procedural controls
- Load indication or lift-permit logic when handling variable weights
A simple commissioning sequence that improves outcomes
- Validate the real payload and CoG with the actual end effector installed
- Set lift and travel limits to prevent collisions with fixtures, racks, and overhead obstructions
- Tune “float” or assist gain so the operator can stop precisely without overshoot
- Run fault simulations (power loss / air loss) and document the resulting behavior
- Train operators with standard work: approach, seat, release, and retreat steps
Integration and layout: make it usable, not just functional
Many deployments fail to achieve the expected throughput because the manipulator is physically “in the way.” Layout and ergonomics matter as much as lift capacity.
Layout decisions that reduce cycle time
- Mount so the neutral position is near the highest-frequency pick location
- Minimize reach extremes; long reaches amplify swing and increase alignment time
- Plan hose/cable routing with enough slack for full travel but no snag risk
- Add mechanical stops or software zones to protect nearby equipment
Data and controls (when it is worth it)
For quality-critical handling, specify IO for part-present confirmation, gripper state (vacuum/clamp), and lift-permit interlocks. If you track productivity, capture picks/cycles and fault events. These signals make troubleshooting faster and prevent “mystery downtime.”
Cost and ROI: a practical way to justify the investment
The cleanest justification ties the power-assisted manipulator to measurable outcomes: reduced injuries/claims exposure, higher throughput, less scrap, and fewer operators needed for team lifts.
ROI example using conservative shop-floor math
If a station currently needs two operators for a team lift and you can safely run it with one using a power-assisted manipulator, the annualized labor difference can dominate the payback. For example: 1 operator saved × 2,000 hours/year × $35/hour fully burdened = $70,000/year. Even if only 30–50% of that becomes realizable savings (reassignment, overtime avoidance, line balancing), the payback is often compelling.
Ongoing cost drivers to plan for
- End effector wear parts (seals, vacuum cups, pads)
- Air preparation and leaks (for pneumatic systems)
- Preventive inspection of joints, brakes, and lift mechanisms
- Training refresh and standardized work updates after model changes
Common pitfalls and how to avoid them
Most “this manipulator isn’t helping” feedback traces to predictable issues that can be prevented during specification and pilot testing.
Pitfalls seen in real deployments
- Understated tooling mass causing slow response and poor balance
- CoG not aligned leading to rotation drift and operator fighting the arm
- End effector contact points damaging surfaces or deforming parts
- Layout places high-frequency picks at reach extremes, increasing swing and micro-adjust time
- No defined fault behavior for air/power loss, creating unsafe or confusing recovery steps
A short specification checklist
- Payload (part + tooling) and CoG offsets documented
- Required degrees of freedom (lift, reach, rotate) and whether rotation must be powered/braked
- Lift height, reach envelope, and any interference constraints
- End effector concept with retention strategy for loss of power/air
- Acceptance test: cycle trial, alignment trial, and fault simulations with pass/fail criteria
Done correctly, a power-assisted manipulator delivers a clear operational benefit: it enables safe, precise, one-person handling of demanding parts without forcing you into full automation. The key is disciplined sizing, an end effector built for stability, and a layout that supports how operators actually work.