English
 русский
 Español
 عربى
عربى
JingShi
JingShi
JingShi
JingShi
JingShi
JingShi
JingShi
JingShi
JingShi
Content
- 1 The Quick Answer: Why Suction Cups Lose Grip and How to Fix It
- 2 Common Reasons Suction Cups Stop Working
- 3 Step-by-Step: Restoring a Household Suction Cup
- 4 How to Soften a Stiff or Hardened Suction Cup
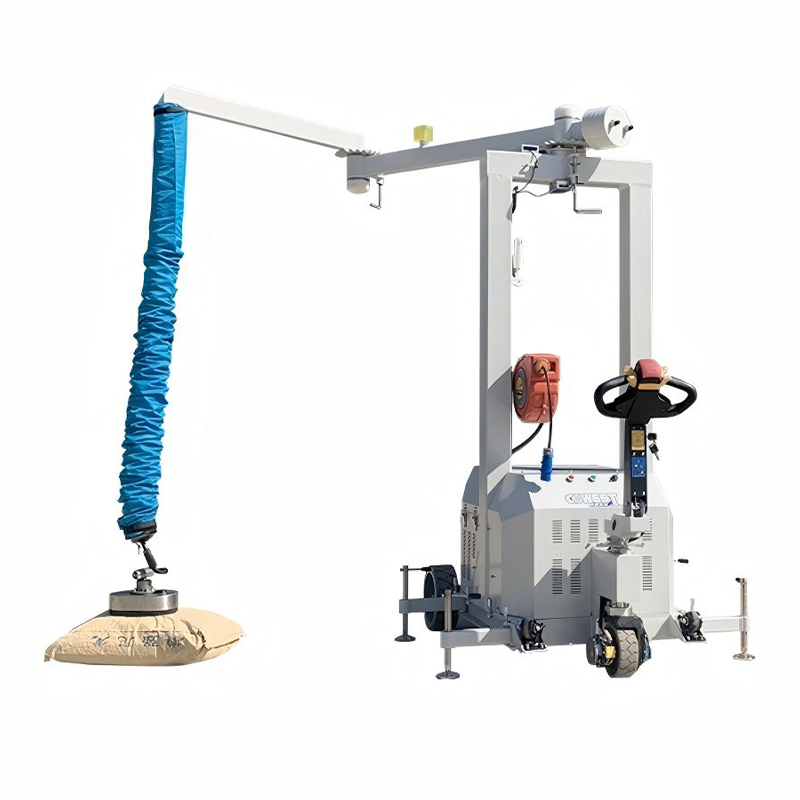
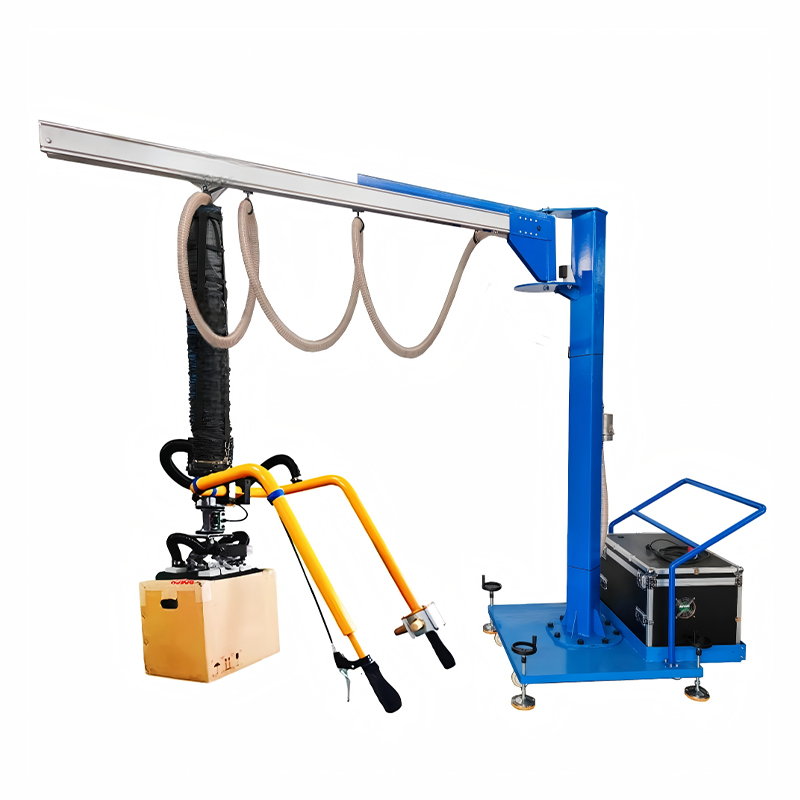
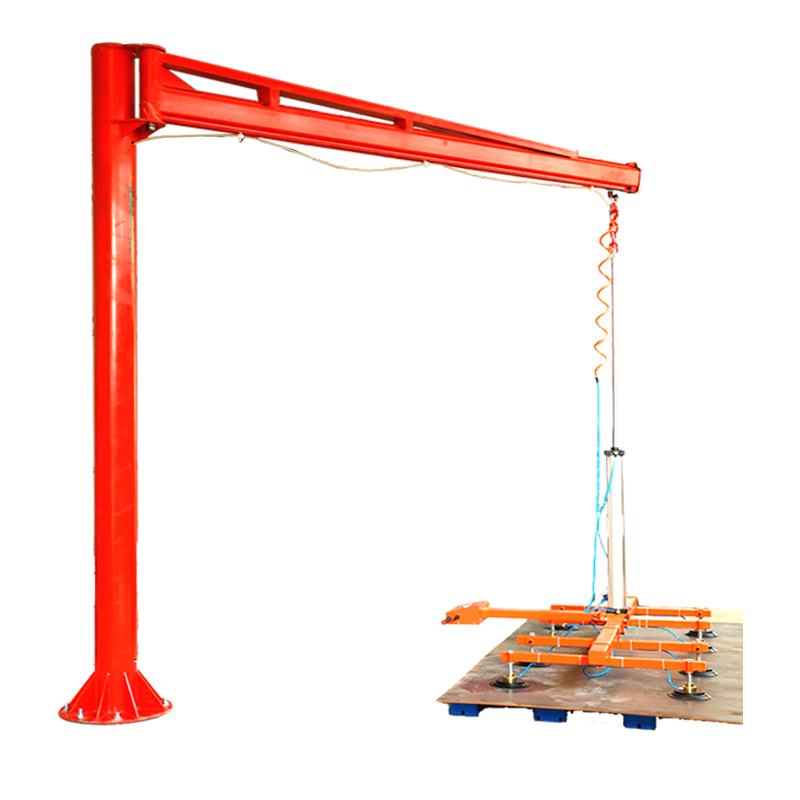
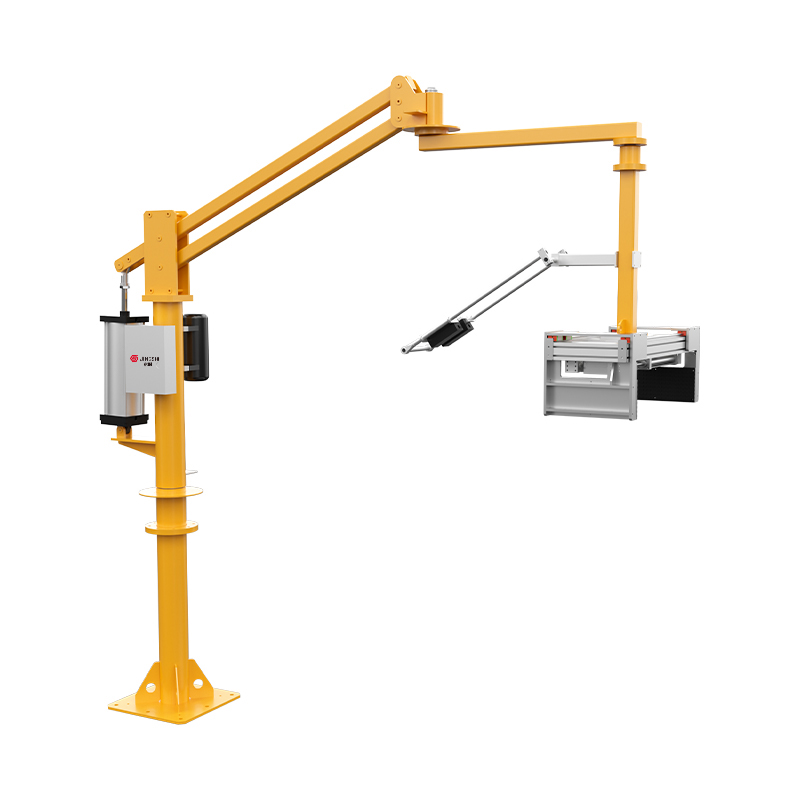
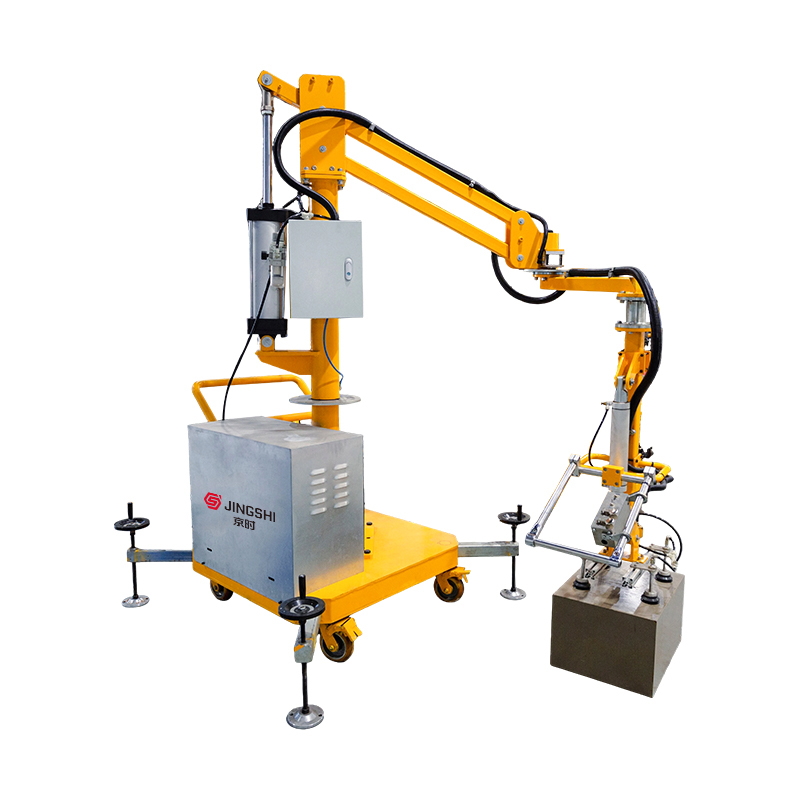
- 5 Restoring Suction Power on Industrial Vacuum Lifters
- 6 When to Replace Instead of Restore
- 7 How to Keep Suction Cups Working Longer
- 8 Surface Matters as Much as the Cup Itself
The Quick Answer: Why Suction Cups Lose Grip and How to Fix It
The fastest way to make a suction cup sticky again is to clean both the cup and the mounting surface with warm soapy water, dry them thoroughly, and apply a thin film of moisture or a drop of petroleum jelly to the rim before pressing it firmly against the surface. This works for most household suction cups within minutes. For industrial vacuum lifters, the fix is more systematic — but the core principle is the same: the sealing surface must be clean, smooth, and free of debris.
Suction cups work by creating a low-pressure zone between the cup and a non-porous surface. When that seal breaks — even slightly — holding force drops dramatically. A suction cup rated to hold 10 lbs can fail at under 2 lbs when just a thin layer of dust or oil residue is present on the contact surface.
Common Reasons Suction Cups Stop Working
Before attempting any fix, it helps to understand exactly what has gone wrong. Most suction cup failures fall into one of these categories:
- Dust and residue buildup: Even invisible layers of skin oils, soap scum, or airborne grease break the airtight seal.
- Material hardening: Rubber and silicone degrade over time. Exposure to UV light, heat, or harsh cleaners causes the rim to stiffen and lose the flexibility needed to conform to a surface.
- Micro-tears and deformation: Repeated use or rough handling can create tiny cracks along the sealing edge, causing slow air leaks.
- Incompatible surface: Suction cups only work reliably on non-porous, smooth surfaces like glass, glazed tile, or polished metal. Painted drywall, rough stone, or textured plastic will not hold.
- Vacuum pad wear (vacuum lifters): In industrial vacuum lifting systems, the pad material wears down with repeated cycles, reducing the contact area and sealing effectiveness.
Step-by-Step: Restoring a Household Suction Cup
Follow these steps in order. Most people skip straight to step four and wonder why it doesn't work — steps one through three are what actually make the difference.
- Wash the suction cup with warm water and a small amount of dish soap. Use your fingers to rub the entire rim. Rinse completely and pat dry with a lint-free cloth.
- Clean the mounting surface. Wipe it down with rubbing alcohol or a glass cleaner and let it dry fully. Any moisture residue from the cleaner itself should also evaporate before proceeding.
- Check the rim for damage. Run your fingertip along the edge of the cup. If you feel notches, cracks, or stiffness, the cup may need to be replaced rather than restored.
- Apply a thin lubricant to the rim. A very small amount of petroleum jelly, silicone grease, or even a lick of water works. This helps the rim conform tightly to the surface and fill microscopic gaps.
- Press firmly and hold for 30 seconds. Push from the center outward to expel air, then maintain pressure. For hook-style cups, engage the locking mechanism before releasing.
- Wait before loading. Let the cup sit for 10–15 minutes before hanging anything from it. This allows the low-pressure zone to stabilize.
If the cup still does not hold after these steps, the rubber has likely hardened beyond recovery. A rubber-softening technique (described below) may help extend its life slightly.
How to Soften a Stiff or Hardened Suction Cup
If cleaning alone doesn't restore grip, the rubber itself may have hardened. Two methods can help:
Hot Water Soak
Submerge the suction cup in hot (not boiling) water — around 60–70°C (140–160°F) — for 5 to 10 minutes. This temporarily re-softens the rubber, restoring some elasticity. Dry it and test immediately while the rubber is still warm and pliable. This method works best on standard rubber cups that have stiffened from cold exposure or age.
Silicone Conditioner or Rubber Revitalizer
Commercial silicone-based conditioners can penetrate the rubber and restore some flexibility. Apply a small amount to the cup, work it in with your fingers, and let it sit for 15–20 minutes before wiping off the excess. This won't reverse severe cracking but can meaningfully improve borderline cases.
Note: Do not use oil-based products like WD-40 or vegetable oil on rubber suction cups. These can degrade the material further and leave a residue that actually weakens adhesion.
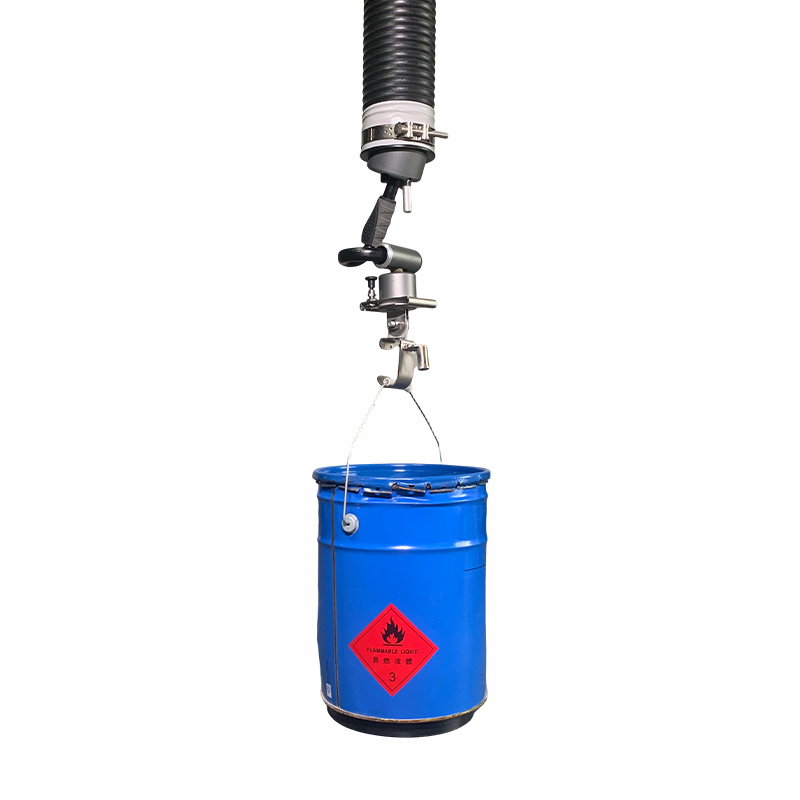
Restoring Suction Power on Industrial Vacuum Lifters
Vacuum lifters used in construction, glass handling, and manufacturing operate on the same physics but at a much higher scale. A single vacuum pad on an industrial lifter may need to support hundreds of kilograms. When grip performance drops, the consequences can be severe — making systematic maintenance essential rather than optional.
Inspect the Vacuum Pad (Suction Cup)
Check the pad lip for cuts, abrasion, or hardening. Industrial pads are typically made from nitrile rubber, natural rubber, or polyurethane — each with different wear characteristics. Polyurethane pads used on rough or abrasive surfaces typically need replacement every 500–800 lift cycles, while smooth-surface nitrile pads may last several thousand cycles under ideal conditions.
Check for Leaks in the Vacuum Circuit
Loss of holding power isn't always a pad problem. Cracked hoses, loose fittings, or a failing vacuum pump can all reduce the system's ability to maintain the required negative pressure. Use a vacuum gauge to test pressure at the pad level. Most industrial systems require a minimum of -0.6 to -0.8 bar for safe operation.
Clean the Pad and Test Surface
Wipe the pad surface with isopropyl alcohol and ensure the workpiece surface is free of dust, moisture, and debris before each lift. On outdoor or construction sites where contamination is constant, this step is often skipped — and accounts for a large percentage of vacuum lifter incidents.
| Pad Material | Best Surface Type | Typical Lifespan | Restoration Potential |
|---|---|---|---|
| Nitrile Rubber | Smooth glass, metal | 2,000–5,000 cycles | High (cleaning effective) |
| Natural Rubber | Flat, clean surfaces | 1,500–3,000 cycles | Moderate |
| Polyurethane | Rough or abrasive surfaces | 500–800 cycles | Low (replacement preferred) |
| Silicone | High-temp or food-grade | 3,000–6,000 cycles | High (very durable) |
When to Replace Instead of Restore
Not every suction cup can or should be revived. Replace the cup or vacuum pad when:
- The rim has visible cracks, tears, or permanent deformation.
- The material has turned chalky, brittle, or discolored — signs of UV degradation or chemical exposure.
- The cup has been exposed to solvents, oils, or chemicals incompatible with rubber.
- For vacuum lifters: whenever there is any doubt about holding capacity before a critical or overhead lift. The cost of a replacement pad is negligible compared to the risk.
- The cup fails to hold its vacuum within 60 seconds of correct attachment on a known-good surface.
How to Keep Suction Cups Working Longer
A little regular maintenance goes a long way. These habits can extend the useful life of both household suction cups and industrial vacuum pads significantly:
- Clean monthly even when the cup appears to be holding fine. Residue builds up gradually and causes failure without warning.
- Store suction cups face-down on a flat surface or hang them — never rest them rim-up where dust can settle directly onto the sealing edge.
- Avoid heat exposure. Leaving suction cups in direct sunlight or near heat sources accelerates rubber hardening. Interior temperatures in a car parked in summer can exceed 70°C — enough to permanently deform a cup's rim over repeated exposure.
- Do not over-tighten. Pressing too hard or using mechanical leverage to attach industrial pads can distort the rim geometry and create uneven sealing.
- For vacuum lifters, log lift cycles and replace pads proactively based on manufacturer-recommended intervals rather than waiting for visible wear.
Surface Matters as Much as the Cup Itself
Even a perfect suction cup will fail on the wrong surface. For a reliable seal, the mounting surface should be:
- Non-porous: Glass, glazed tile, polished stainless steel, and acrylic are ideal. Unglazed ceramic, rough concrete, and painted drywall are not.
- Smooth: Surface roughness greater than approximately 1.6 µm Ra (a common machining finish) starts to significantly reduce vacuum cup holding force.
- Flat: Curved surfaces can still work if the cup is specifically designed for the radius — but a flat cup on a curved surface will always leak.
- Dry and grease-free: Water reduces holding force by approximately 20–30% compared to a dry surface. Oil or silicone spray residue can make a surface effectively impossible to seal.
If your surface is inherently unsuitable, no amount of cup restoration will solve the problem. In those cases, adhesive-backed hooks or mechanical fasteners are the practical alternative.