 English
 русский
 Español
 عربى
عربى
JingShi
JingShi
JingShi
JingShi
JingShi
JingShi
JingShi
JingShi
JingShi
Content
- 1 Why a Suction Cup Eventually Lets Go
- 2 Surface Preparation: Where Most Failures Begin
- 3 Diagnosing a Cup That Will Not Stay Put
- 4 How to Press a Suction Cup So It Stays
- 5 Temperature, Humidity, and Age
- 6 A Maintenance Routine That Keeps Cups Attached
- 7 What Industrial Vacuum Lifting Systems Do Differently
- 8 A Final Checklist Before You Press
You press a suction cup against a tile, a windshield, or a polished steel panel, and it holds perfectly, until it does not. One morning the hook is on the floor, the mount has dropped off the glass, and the cup itself looks exactly the same as it did the day before. Nothing is actually broken. A suction cup fails for one reason only: air has found a path under the sealing lip, and the pressure difference that was holding the cup in place has quietly equalized.
Understanding how that path opens is the whole game. Once you can tell whether the problem is contamination, technique, temperature, or simply age, keeping a suction cup attached becomes routine rather than luck. The same principles apply to a bathroom hook, a dashcam mount, and a multi-cup industrial vacuum lifter.
Why a Suction Cup Eventually Lets Go
When you press a cup down, you push air out from under the dome. The rubber rebounds slightly, and because the lip seals against the surface, new air cannot get back in. The pressure trapped inside stays lower than atmospheric pressure, and that difference is what holds the load. Holding force therefore depends on two variables: the contact area of the cup, and how completely the vacuum is maintained.
That gives three distinct failure modes, and it is worth knowing which one you are dealing with before you start applying fixes.
- Seal failure. Dust, oil, soap film, or a fine scratch under the lip gives air a channel. The cup rarely drops instantly; it creeps, then releases.
- Material fatigue. Rubber hardens, plasticizers migrate out of the compound, the lip loses its rebound, and the cup can no longer conform to the microscopic texture of the surface.
- Load geometry. A cup is strongest in pure tension. Side loads from a sagging hook, a swinging cable, or a heavy tool create shear that slides the cup until the seal breaks.
Notice that only one of those three is really about the cup wearing out. The other two are about how the cup is used, which is why so many "failing" cups start working again after ten minutes of proper preparation.
Surface Preparation: Where Most Failures Begin
In practice, roughly eight out of ten suction failures trace back to the surface. A cup needs a surface that is smooth, non-porous, clean, and dry, in that order of importance.
Surfaces that usually hold well
- Glass, mirrors, and glazed ceramic tile
- Polished stainless steel, painted metal, and powder-coated panels
- Laminated plastic, acrylic, and most smooth countertop materials
Surfaces that fight back
- Bare wood, plywood, and MDF, where air leaks through the grain
- Textured plaster, brick, concrete, and matte or relief tile
- Anything dusty, oily, or coated with soap scum
The cleaning method matters as much as the surface itself. Wash the area with a mild household cleaner, rinse it, and dry it. Then wipe the surface and the cup with isopropyl alcohol and let both air-dry completely. Alcohol removes the invisible oil film that soap leaves behind and lifts dust off the sealing lip at the same time. A lint-free cloth is worth the extra few seconds, because loose fibers are themselves leak paths.
Diagnosing a Cup That Will Not Stay Put
Most people replace a suction cup before they have identified the cause. The table below maps the common symptoms to their real causes and to a fix that actually addresses the problem.
| Symptom | Likely cause | Practical fix |
|---|---|---|
| Falls off within minutes | Oil, dust, or soap residue on cup or surface | Wash the cup in warm mild soapy water, degrease the surface with alcohol, dry both fully |
| Holds for hours, then slides | Shear load too high for the cup diameter | Reduce the side load, recenter the hook, or move up to a larger cup |
| Fails only in hot weather | Warm rubber softens and creeps under load | Re-seat in cooler conditions, choose a firmer cup, shade the mounting position |
| Works on glass, never on wood | Porous surface leaks air continuously behind the cup | Switch to adhesive or screw-mounted hardware for that location |
| Cup looks cloudy or feels stiff | Elastomer has aged and lost plasticizer | Replace the cup; reactivation only buys a little more time |
| Small air bubble trapped under the dome | Air sealed in during installation | Press from the center outward to the rim, or moisten the lip lightly first |
How to Press a Suction Cup So It Stays
Technique is the cheapest improvement available, and it takes less than a minute.
- Clean and dry both surfaces as described above, and handle the cup by its edges afterward.
- If the rubber feels stiff, warm it in hot water for a minute and dry it thoroughly. Warm rubber conforms far better than cold rubber.
- For very smooth surfaces, a single breath of moisture on the cup face helps the lip slide into full contact. Avoid oil and petroleum jelly, which lubricate the seal and let the cup creep.
- Place the cup and press the center down firmly, then work outward toward the rim so trapped air is pushed out rather than sealed in.
- Hold the pressure for several seconds so the rubber can flow into every microscopic gap.
- Load the cup gently and straight outward rather than sideways, then check it again after an hour.
Temperature, Humidity, and Age
Two identical cups can behave completely differently in the same room, because elastomers are sensitive to their environment. Heat softens the compound, which improves initial sealing but also encourages creep under load, so a mount that survives winter may slide off a hot afternoon window. Cold does the opposite: the lip stiffens, fails to conform, and the cup never establishes a proper vacuum in the first place.
Humidity adds a second variable. A little moisture helps a smooth cup seal, but a wet, soapy film is a lubricant. Bathroom and kitchen failures usually involve both problems at once, which is why moving a mount to a dry, shaded, smooth surface often solves a problem that no amount of pressing ever fixed.
Finally, accept that elastomers age. Ultraviolet light, ozone, and repeated cleaning cycles all pull plasticizers out of the rubber. Once a cup turns cloudy, develops fine cracks at the lip, or stays visibly deformed after removal, no cleaning routine will bring it back.
A Maintenance Routine That Keeps Cups Attached
- Re-seat every cup periodically, even when it still looks fine, since a fresh press restores the full pressure difference.
- Wash cups in warm water with a drop of mild soap whenever they come off, and let them air-dry before storage.
- Keep spare cups out of direct sunlight, because stored cups age just as quickly as installed ones.
- Retire any cup whose lip no longer springs back or whose surface has become tacky or cracked.
If a cup has lost its tack but is not yet hard or cracked, warm water and a proper clean can restore a surprising amount of grip. Our workshop notes on making suction cups sticky again walk through the full reactivation sequence, including the steps that quietly damage the lip.
What Industrial Vacuum Lifting Systems Do Differently
On a factory floor, a dropped suction cup is not an inconvenience; it is a safety event. That is why industrial vacuum lifters treat the vacuum as something to be generated, stored, monitored, and released under control rather than as a lucky seal against a surface.
A vacuum reservoir keeps holding force available even if the pump cycles, non-return valves isolate a single leaking cup so the rest of the array stays sealed, inline filters stop dust from reaching the pump, and pressure sensors plus audible alarms warn the operator before grip drops below the safe threshold. Multiple cups also share the load, so each one carries less shear than a single hook would.
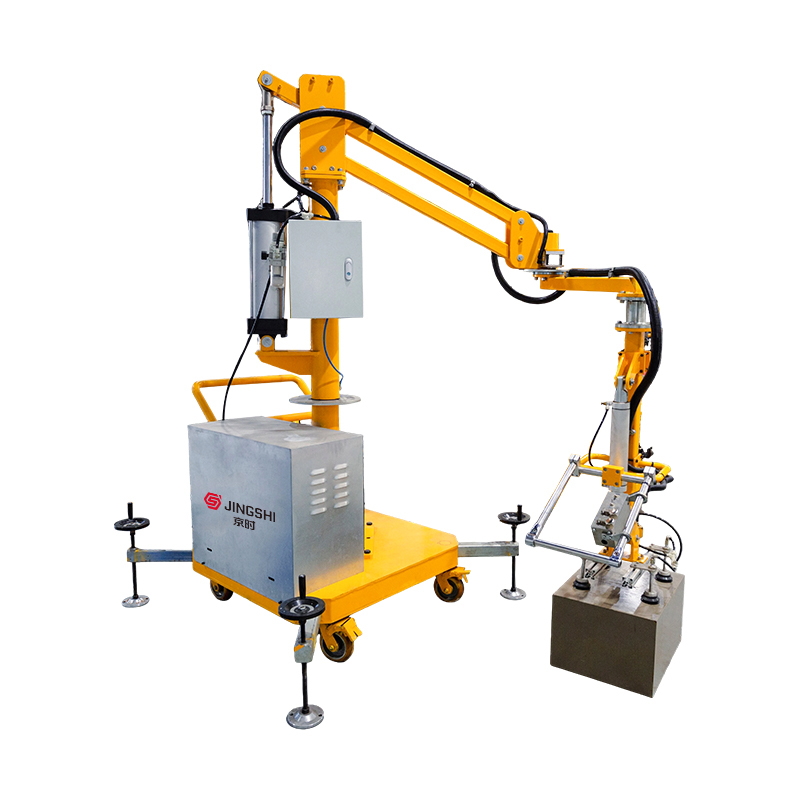
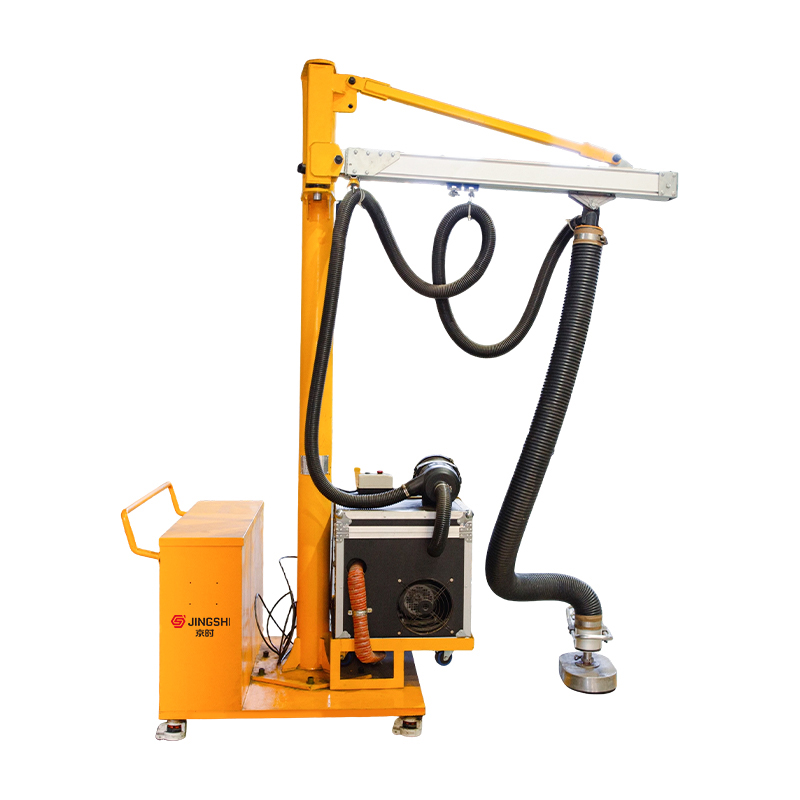
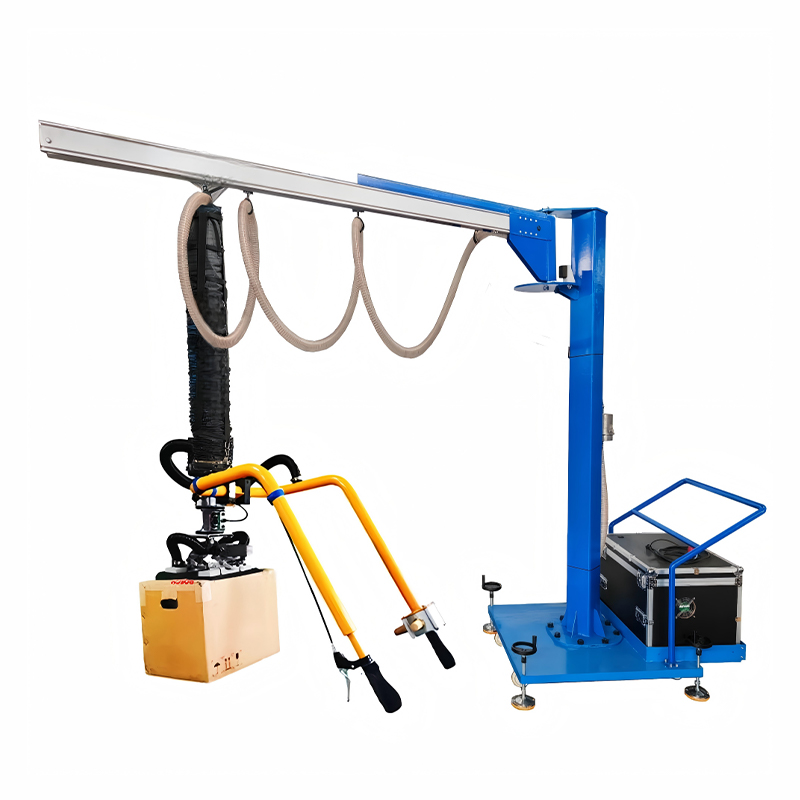
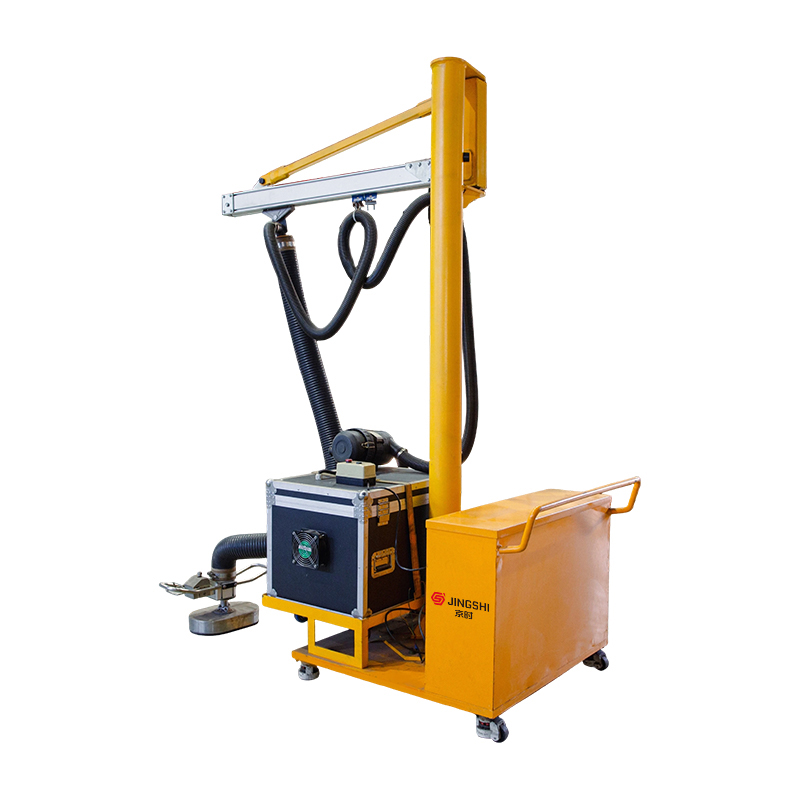 Mobile Suction Cup Lifting MachineMoving heavy loads between multiple work stations shouldn't mean moving the entire machine setup every time. The JINGSHI Mobile Suction Cup Lifting Machine is built on...View Product →
A mobile suction cup lifter applies those principles to sheet, plate, and box handling where the pick point changes constantly: the operator positions the frame, the cups seal, and the vacuum holds while the load travels. For repetitive work at a single station, a fixed suction cup lifting machine removes the manual press entirely and uses a powered vacuum cycle with a controlled release.
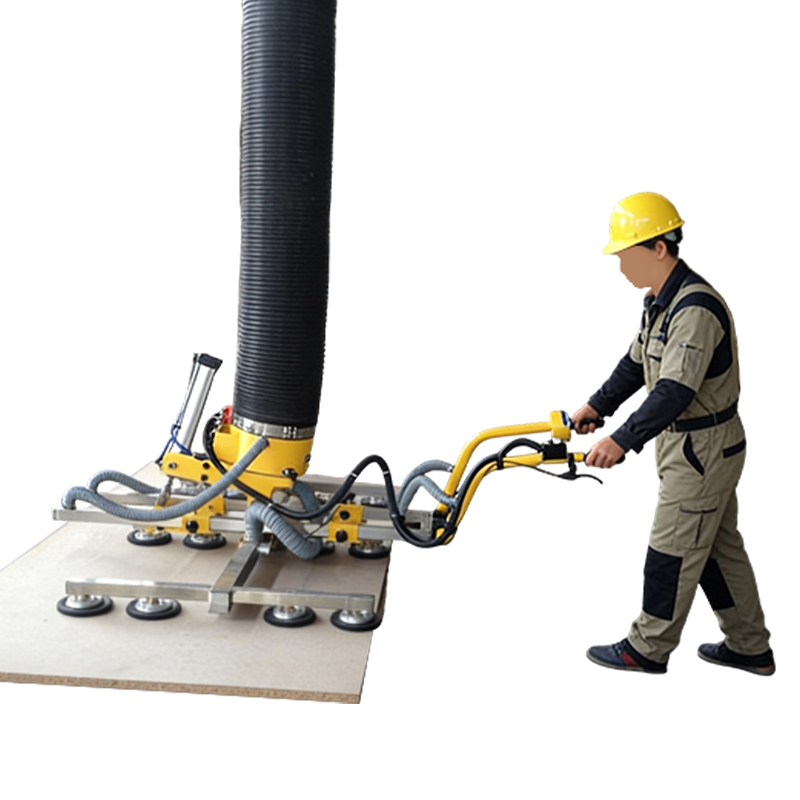 Fixed Suction Cup Lifting MachineI. Product Overview The two-hand grip vacuum lifter is a material handling device based on vacuum adsorption and operated by two hands. It uses suction cups to generat...View Product →
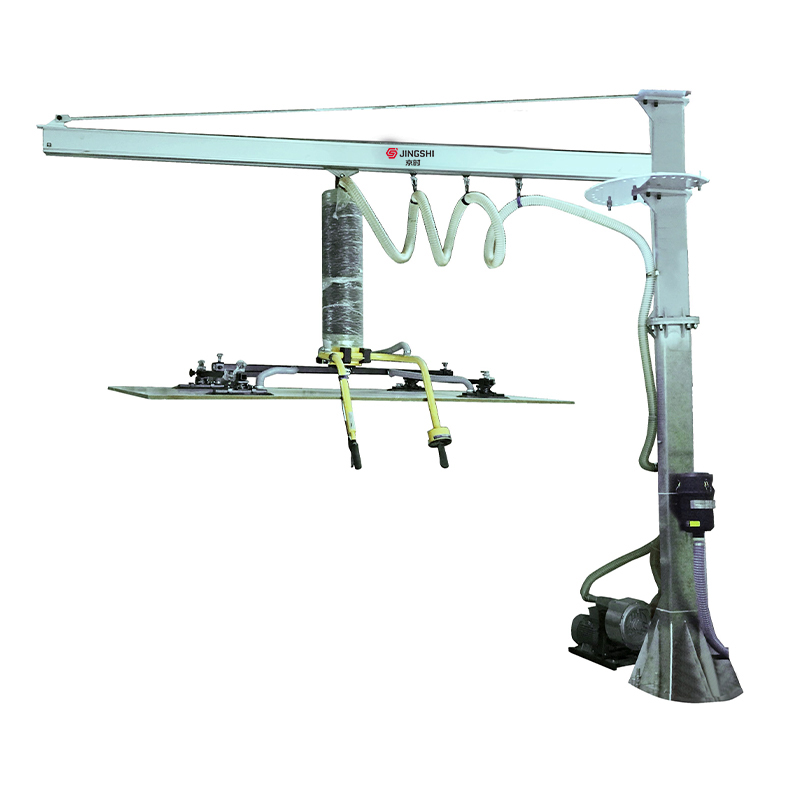
Glass handling is the most demanding case of all, because the surface is flawless and unforgiving but the load is heavy and brittle. A dedicated sheet glass vacuum lifter pairs larger cups with a higher safety factor and tilt or rotation functions, so the panel never relies on friction from a side-loaded cup.
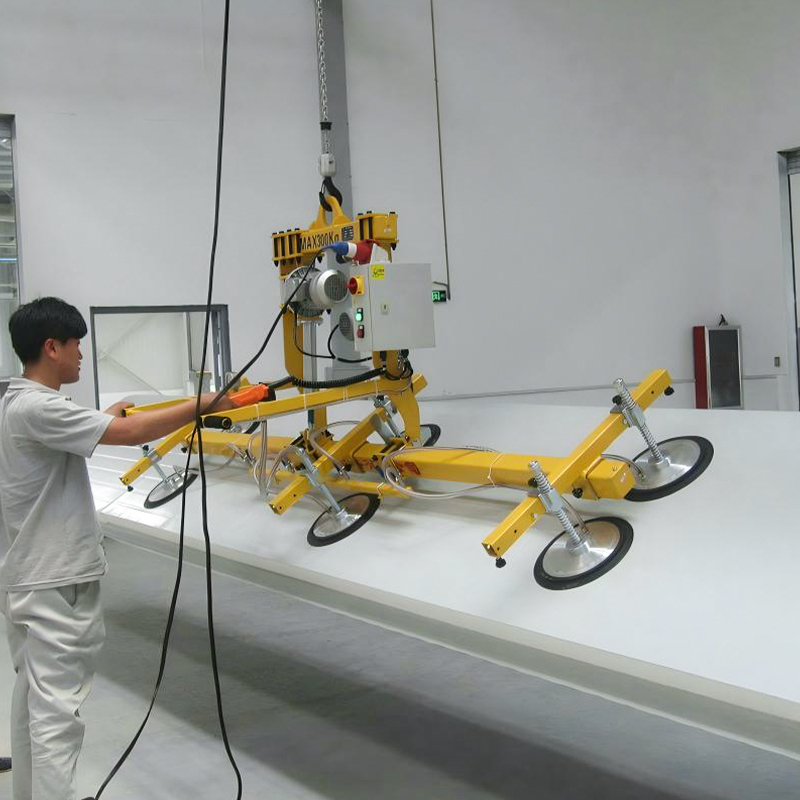 Sheet & Glass Vacuum LifterThe Sheet Glass Vacuum Lifter is designed for handling flat materials such as metal sheets, steel plates, aluminum panels, glass panels, windows, stone slabs, and comp...View Product →
A Final Checklist Before You Press
- Is the surface smooth and non-porous?
- Is it free of oil, dust, and soap film?
- Is the cup clean, soft, and free of cracks at the lip?
- Is the load pulling straight outward rather than sideways?
- Have you pressed from the center outward to expel trapped air?
- Will you re-seat the cup in a few weeks, before it fails on its own?
Suction cups are simple devices, and that is exactly why they respond so well to good habits. Keep the surface clean, seat the cup properly, respect temperature and load direction, and replace the cup when the rubber finally gives up. Do those four things consistently, and the cup will stay where you put it.